Tutorial Project Preparation
Properly setting up and managing the project repository is a key step in this tutorial. In this section, we will guide you through the preparation process, whether you choose to work with the provided online JupyterHub server or run the project locally on your system. First, we will walk you through downloading and running the project. Then, we will introduce the management notebook, which is used for project administration.
Once you have successfully completed all the steps, you can proceed to the Examples → Notebook Template section. If you ever want to set up your own JupyterHub server in the future, you can follow the instructions in the bonus section Preparation → JupyterHub.
Project deployment
As part of the tutorial, you have two options: you can either use the online JupyterHub server, which is fully set up with all the necessary tools and dependencies, or you can download all the required files and run the tutorial locally on your system. If you choose to go with the local deployment, please ensure that your system meets the required specifications to ensure smooth operation and avoid potential compatibility issues.
JupyterHub server
If you don't want to run the whole project locally, use our pre-prepared JupyterHub server, where everything you need is installed and ready. To access the server, use the login credentials you received from us and the automatic deployment link below.
Please check on the provided credentials which JupyterHub server you should use and click on the corresponding link:
Note
The links are generated and processed by nbgitpuller extension for JupyterHub. It allows you to automatically deploy the content of the tutorial project repository without using the command line or typing repository access tokens.
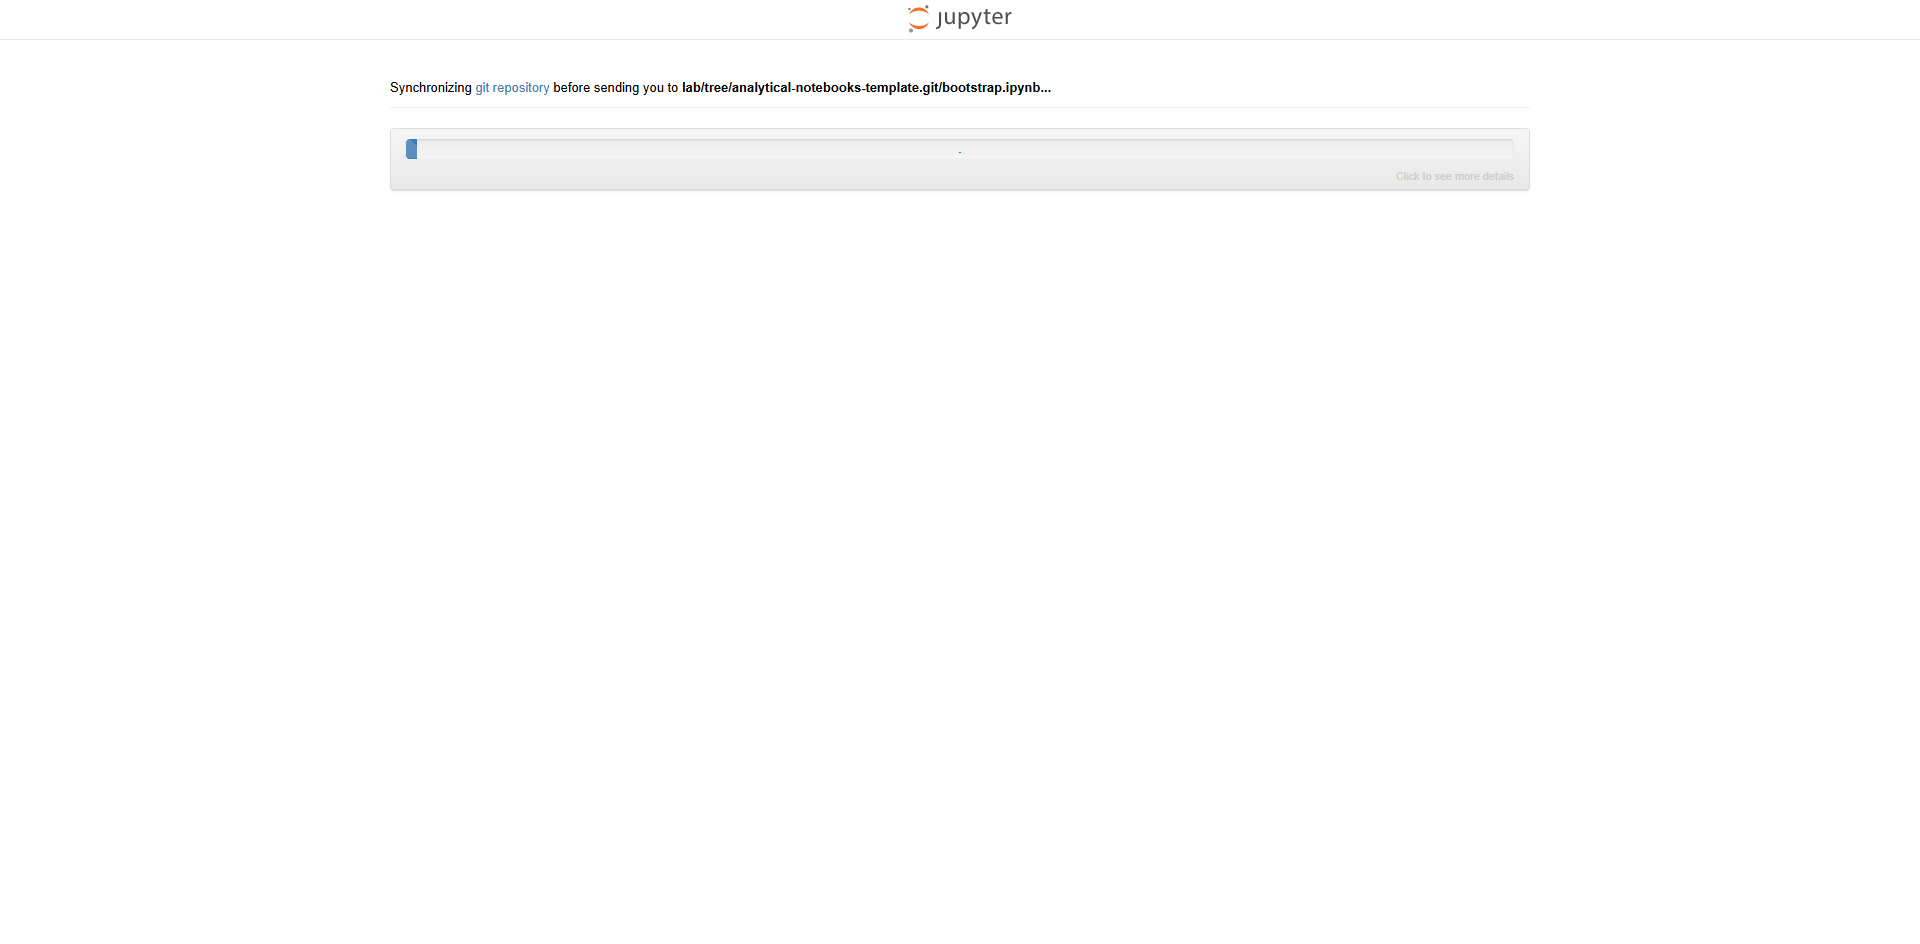
After clicking on the link, you will be redirected to the JupyterHub login page. Please log in with the provided credentials and wait until the project is set up. You should see similar content to the following screenshots (with a pip command output). Please refer to the Data preparation section if everything is set up correctly.


Local deployment
First, please make sure you meet the system requirements. The following command examples are for Linux but should work also for Windows operating systems (macOS should also work, but we haven't tested it). If your system does not meet the requirements and you do not want to reconfigure it, use the provided JupyterHub server.
Start by downloading or cloning the Analytical Notebooks repository from https://gitlab.ics.muni.cz/csirt-mu-analytics-public/analytical-notebooks to your system. Then, create a Python virtual environment and install the requirements:
linux:$ git clone https://gitlab.ics.muni.cz/csirt-mu-analytics-public/analytical-notebooks.git && cd analytical-notebooks
# Alternatively you can download the zip archive
# $ wget https://gitlab.ics.muni.cz/csirt-mu-analytics-public/analytical-notebooks/-/archive/master/analytical-notebooks-master.zip
# $ unzip analytical-notebooks-master.zip && cd analytical-notebooks-master
linux:$ python3 -m venv .venv
linux:$ source .venv/bin/activate
# In Windows systems use the following command
# > .venv/Scripts/Activate.ps1
(.venv) linux:$ pip3 install -r requirements.txt
# Use the following command to deactivate the virtual environment when no longer needed:
# (.venv) linux:$ deactivate
After installing all Python requirements, you can start JupyterLab using the following command and proceed to the next section. When you run the command, the web browser should open automatically. If it doesn't, check the command log and access the referenced URL (typically http://127.0.0.1:8888/lab?token=<RANDOM_TOKEN>).
(.venv) linux:$ jupyter lab
If everything works correctly, you should see the JupyterLab home page, as depicted in the following screenshot.

Data preparation
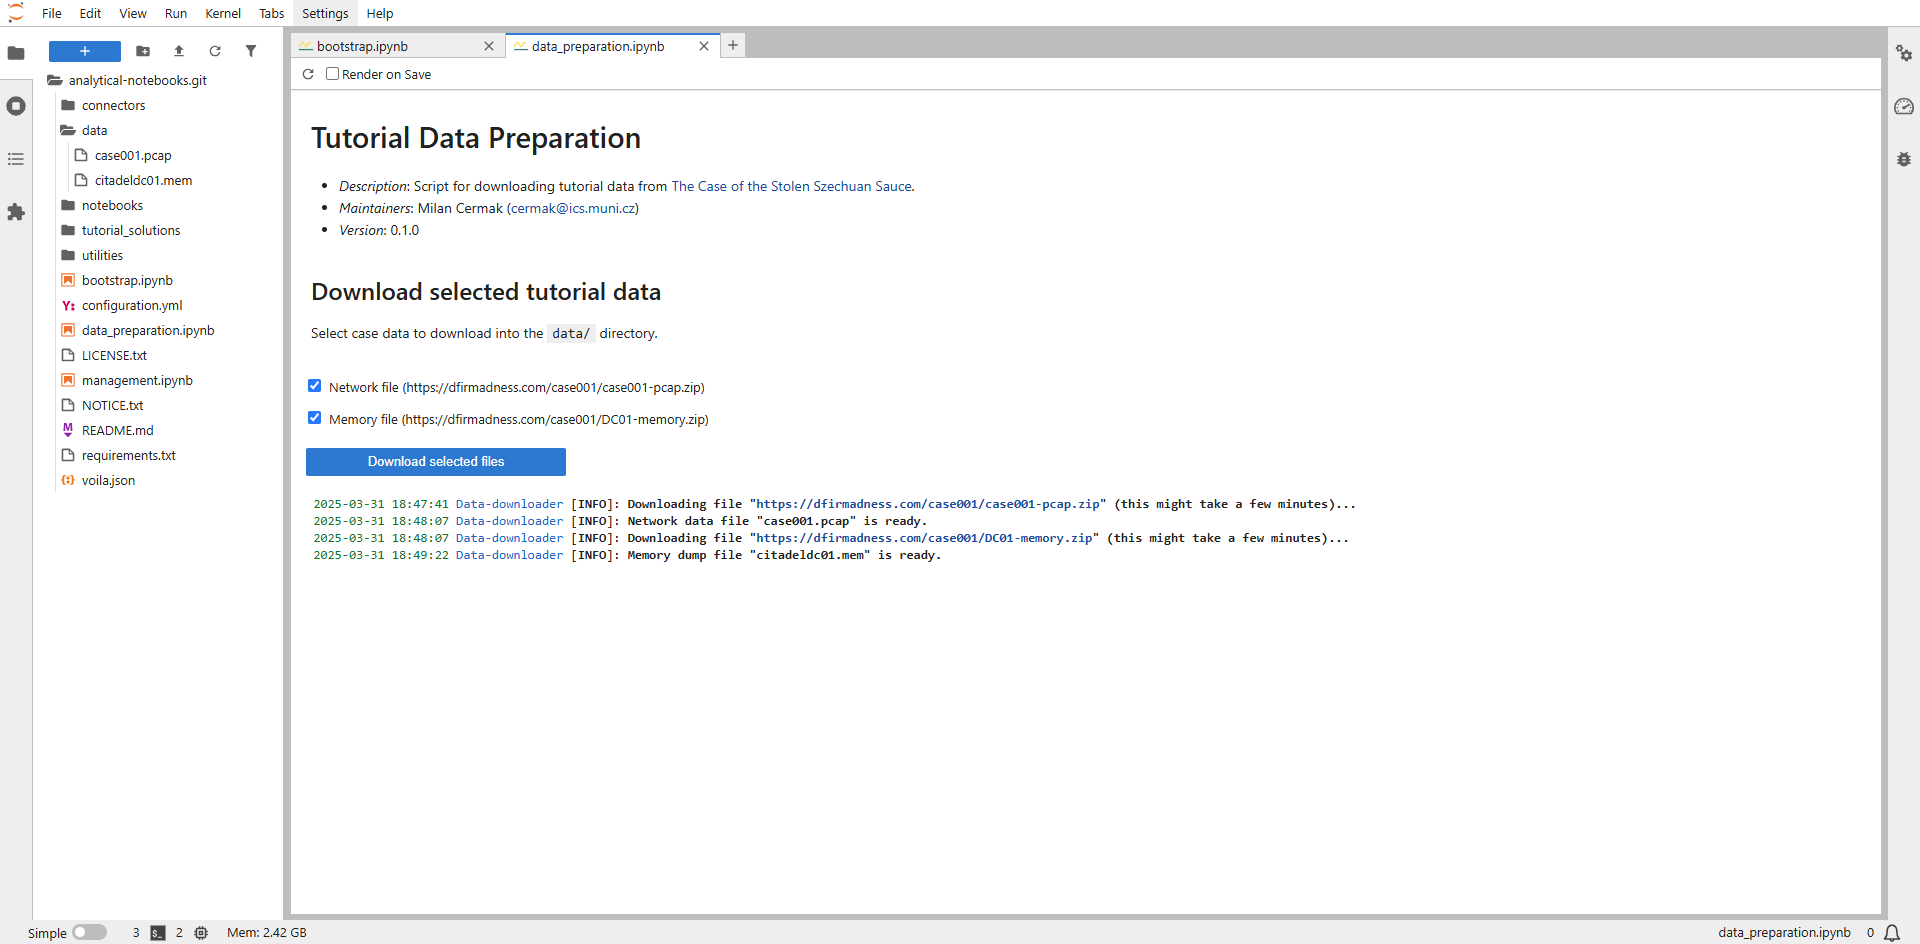
We have created a dedicated notebook with a simple function for downloading online data, making it easier to prepare the necessary files for the hands-on part of the tutorial. The notebook is in the main project folder under the name data_preparation.ipynb.
To open the notebook, double-click its name in the left panel (if you are using the local deployment, right-click on it and select Open With → Voila Preview). Once the notebook has loaded (as in the screenshot below), click the Download selected files button.
Please note that the files are a bit larger and will take a while to download. However, you don't have to wait for the download to finish. You can keep the notebook running and continue to the next section.

Note
In the hands-on part, we will use data from the scenario The Case of the Stolen Szechuan Sauce by DFIR Madness. For more details about the scenario, see the introduction of the Hands-on → Network Traffic Analysis section.
Project management
To simplify project management, we created a special notebook with essential functions for managing notebooks and services. It is located in the main project folder under the name management.ipynb. Open it in a similar way as the data preparation notebook (double-click its name in the left panel). When loaded correctly, the notebook should appear as shown in the following screenshot.

The management notebook is divided into three parts, described in each section below. The first part of Repository management is used for project setup and data management. The second part, Containers management, controls the container service and downloads the configured images. The third part Advanced features contains features that can affect the project and the whole system and should only be used considering their impact.
Note
The notebook is displayed using the Voilà extension, which allows us to hide the notebook parts containing the code and leave only the outputs displayed. Voilà is run with progressive rendering, which causes a notebook to appear immediately, with the output filled with placeholders. These outputs are updated as the kernel executes each cell.
Repository management
This is the main section of the notebook used to control the downloaded tutorial repository and the entire project. The section consists of four parts described below.
The Repository update part is used to automate repository updates (via Git). First, I will check if the remote Git repository has a newer version and if so, it will pull updates and install the necessary modules if the requirements.txt file has been changed.

The Delete duplicated files part allows you to delete all created notebook duplicates (file name <NOTEBOOK_NAME>-Copy<X>.ipynb). Suppose you need to run a notebook multiple times simultaneously (for different analyses and input data). In that case, you cannot open the same notebook and, therefore, need to create a duplicate of it. Over time, these duplicates can fill up the project, and it is advisable to delete them occasionally.

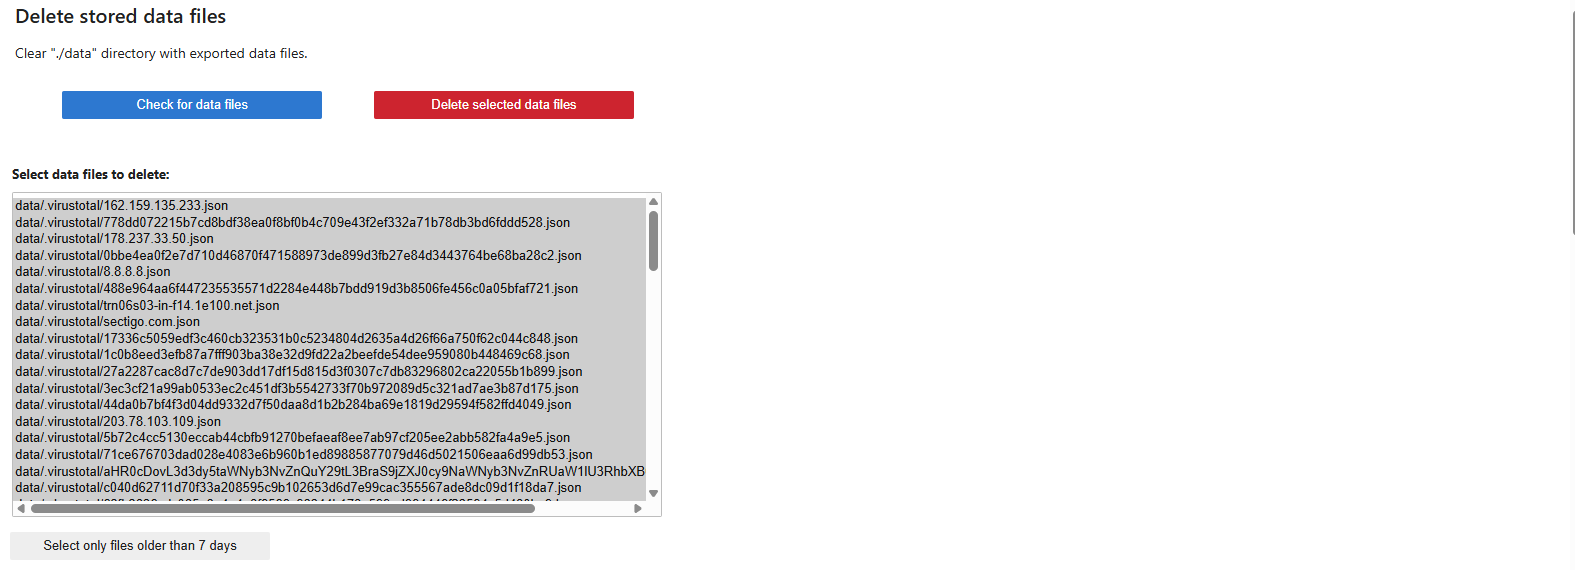
The Delete stored data files part serves to delete data in the ./data directory, where intermediate results and analysis exports are saved. To facilitate the deletion of older files, selecting only files older than 7 days is possible.
Warning
Please do not delete the data in the data/.db and data/.virustotal directories. These directories contain an offline copy of the data needed for the next parts of the tutorial.
The Configuration update part is used to edit project settings. For help with what the configuration file should look like, you can view an example. When the configuration is saved, a backup file of the current configuration file content is automatically created (./configuration.yml.backup). The following can be set in the configuration file:
- log_level – The level of logging that will be displayed to the user.
- containers_manager – Name of the container manager (
podmanordocker). - toolbox – List of tools available as container images. These images can either be from an external repository or locally created containers (in which case, there is no need to define a
usernameandpasswordkeys). - sqlite_db – Path of the database for offline mockup data.
- virustotal – Setting of a connection to the VirusTotal database. If
offline_mode: Trueis set, pre-prepared offline data will be used. If you want to use real data, you must set the value toFalseand insert yourapi_key.

Note
If you use Docker instead of Podman container manager in the local deployment, you need to update the settings and change the container_manager value. Apart from that, there is no need to make any other changes.
Containers management
This notebook section allows you to perform operations that may significantly impact the system. These images are containerized tools and services that can be run within Jupyter Notebooks and used for data analysis. The section consists of two parts described below.
The Pull configured toolbox images section downloads containers defined in the configuration file. If you do not want to download images in advance (for example, for capacity reasons), a similar section is also included in individual notebooks, where only relevant images are downloaded.

The Remove local toolbox images section is used to delete toolbox container images from the local containers storage, helping free up its capacity.

Advanced features
This section of the notebook allows you to perform operations that have a greater impact on the system. For this reason, it is not recommended to use it unless you know what these operations do and understand their limitations. The section consists of two parts described below.
The Switch repository branch section is used to switch between individual branches of the Git repository. This is mainly useful for testing newly developed notebooks that are not part of the main branch.

The Prune local container manager instance section is cleans up the container manager. Clicking the button will remove all running containers, images, volumes, and networks (this will delete everything regardless of project settings).
